

Cart
0
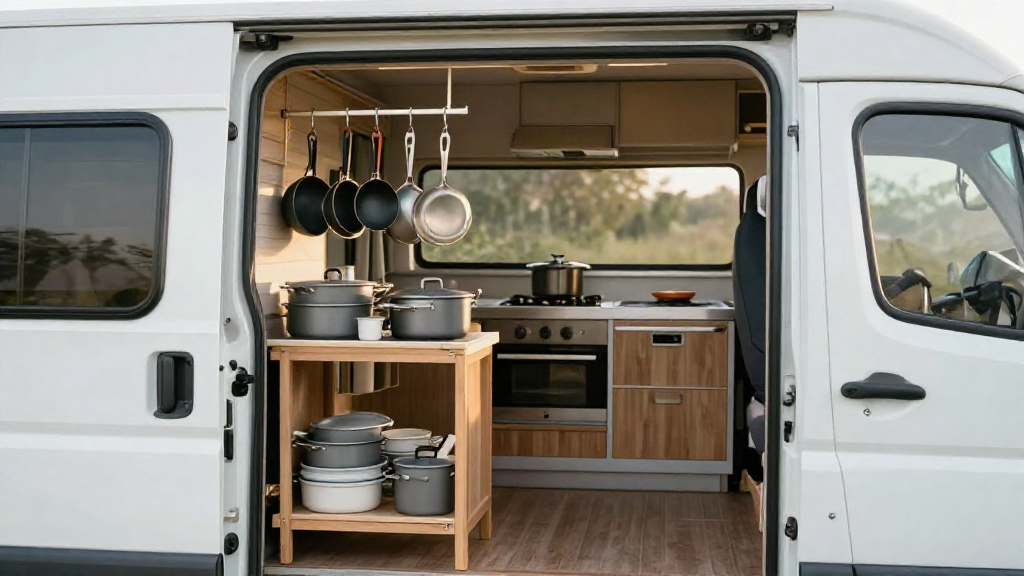
There is a moment on every caravan trip when the food comes out and the questions start. Where is the frying pan? Which lid fits the pot? Why is everything rattling somewhere under the bunk? Caravan pots and pans are the heart of your camp kitchen, and when they have a proper home, cooking outdoors stops being a scramble and starts being the best part of the day.
This guide walks you through setting up a tidy, dependable camp kitchen in four simple steps: choose the right pots and pans, pack them so nothing shifts, give everything a home with an adjustable rack, and keep the whole setup quick to reset.
Step 1: Audit What Actually Earns Its Space
Caravan storage is precious, so before you pack anything, pull out every pot and pan you own and be honest about it. A camp kitchen is not your home kitchen scaled down - it is a small set of tools that each do more than one job.
Ask yourself three questions about each piece:
- Does it stack or nest inside something else?
- Can it handle a camp stove, an open flame, or a fire pit?
- Will I actually use it on this trip?
Most well-organized campers land on a core set: one medium pot for pasta, rice, and stews; one small pot for coffee or sauce; a frying pan with a lid that doubles as a plate; and a kettle or a pot that can boil water fast. Everything else is a nice-to-have. If a lid does not fit in the nest, it usually does not make the trip.
Step 2: Choose Pots and Pans Built for Life on the Road
The right materials matter more at camp than at home, because your gear lives in a box that gets bumped, stacked, and shaken for hours at a time.
Nesting sets are the caravan favorite. Look for pots whose handles fold or detach, so they drop inside one another without leaving gaps. A set that nests tightly takes up about the footprint of your largest pot - which is exactly the kind of space saving a small kitchen needs.
Look for lightweight, durable materials. Aluminum and coated steel spread heat evenly, stay light to carry, and shrug off the knocks of travel far better than heavy cast iron. A non-stick coating is worth it too, since it means less oil, less scrubbing, and less water to heat up when you are washing up at the end of the evening.
Finally, think about lids and handles. A single lid that fits two or three pots cuts both clutter and weight. Removable handles are a quiet hero of camp cooking - they let pans nest flat and stay cool enough to grab when dinner is ready.
Step 3: Pack So Nothing Shifts in Transit
A tidy camp kitchen is really a packing problem. Solve the packing, and the cooking takes care of itself.
Start by nesting from largest to smallest, then fill the empty space inside the smallest pot with the small, awkward items - a lighter, a scrubbing sponge, a little bottle of oil. That dead space is free storage you are already paying for in weight and volume.
Next, protect the surfaces. Slide a cloth, a thin towel, or the lid of a pan between nesting layers so metal does not scrape metal on rough roads. That same cloth doubles as a pot holder and a wipe-down rag.
Then corral the loose pieces. Spatulas, a can opener, a wooden spoon - small tools love to scatter. A single small bag or box for utensils keeps them together and stops the search-every-drawer routine when you are hungry.
And keep the heavy items low. Pots and pans are the densest things in your kitchen box, so store them on the base of a cupboard or the lowest shelf. It keeps the caravan balanced and stops gear from sliding into a pile every time you brake.
Step 4: Give Everything a Home With an Adjustable Rack
This is the step that turns a functional camp kitchen into a genuinely tidy one.
An adjustable storage rack with hooks solves the two biggest camp kitchen problems at once: crowded surfaces and misplaced tools. The rack clamps onto a table or counter edge and gives you a small hanging space right where you cook. Pots, pans, a stove, a ladle, and a mug all have somewhere to go that is off the table but still within arm's reach.
Because the base clamp is adjustable, the rack fits the different tables, benches, and prep surfaces you meet on the road - no drilling, no permanent fittings, no fuss. Set it up in seconds when you arrive, lift it off when you leave.
The payoff is more than neatness. When your cookware hangs in view, you stop hunting for the lid you need halfway through a meal, and cleanup becomes a straight line instead of a scavenger hunt. It is a small piece of kit that quietly does the work of a whole cupboard.
If your setup lives in a larger caravan or you cook for a group, pair the rack with a big-capacity 60L outdoor hiking and travel backpack for the dry goods and non-kitchen gear, so your cook space stays dedicated to cooking.
Step 5: Keep It Quick to Reset
A tidy camp kitchen is only tidy if it stays that way after dinner. Build a routine that takes a few minutes, not a whole evening.
Wipe pans while they are still warm - it is easier and uses less water. Dry everything before it goes back into the nest, so damp metal does not sit together overnight. Then return each piece to its spot on the rack or in the box, largest to smallest, exactly as you packed it. Ten minutes of routine at night means a stress-free start to breakfast in the morning.
What a Tidy Camp Kitchen Gives You Back
Organizing your caravan pots and pans is not about being fussy. It is about spending less time searching and scrubbing, and more time enjoying the view, the fire, and the meal you just made outdoors.
Nest what you can, choose pans that travel well, give every tool a home, and let a simple adjustable rack do the heavy lifting. With a setup this smooth, cooking at camp stops feeling like a task and starts feeling like part of the adventure. Wherever your journey takes you, a tidy kitchen goes with it.

